Drone作为CI/CD届的新秀,越来越被广大程序员接受,基于Docker的构建方式+丰富的第三方插件和扩展,用起来体验非常不错。Slack作为办公领域的佼佼者,也是风头无两。Drone作为持续集成持续发布的工具,通常需要将集成发布的结果通知到使用者,比如发送通知邮件、短信等,我们这次要介绍是使用Slack提供的Webhook功能实现消息通知。
开启Slack的webhook功能
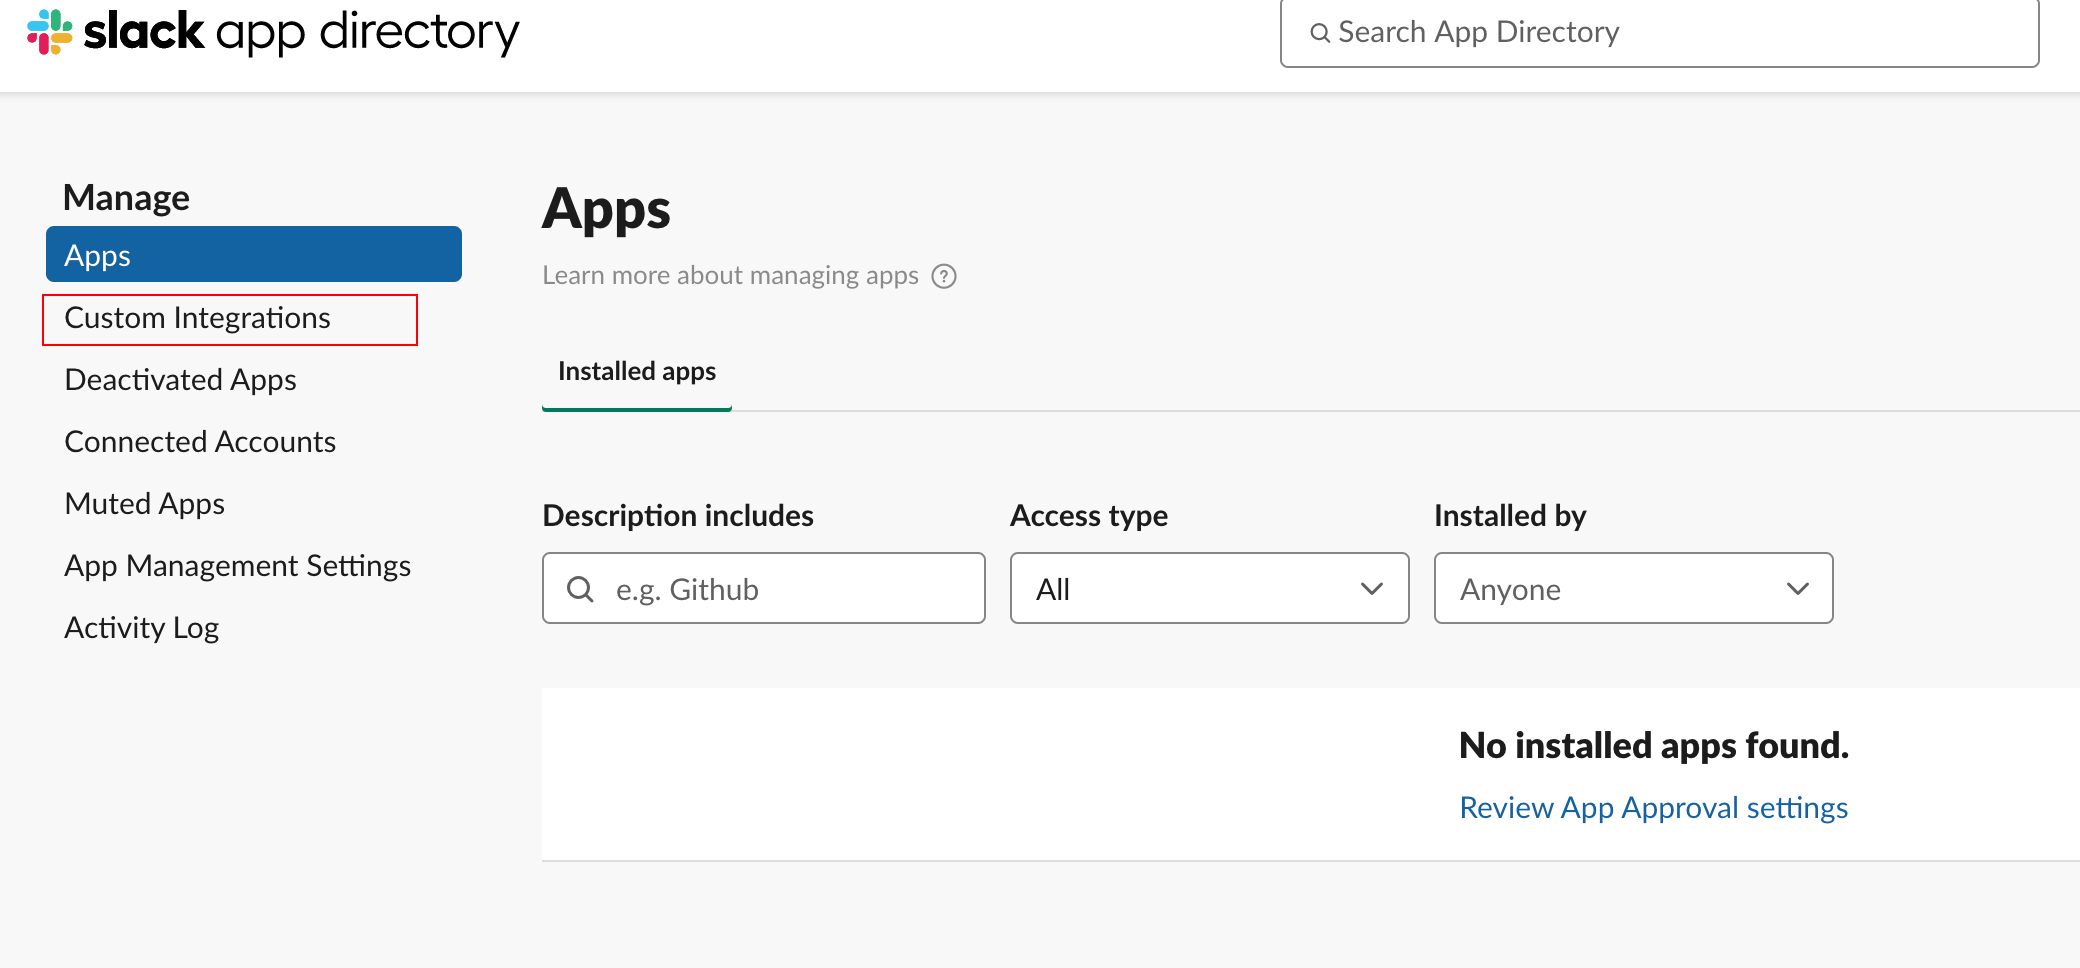
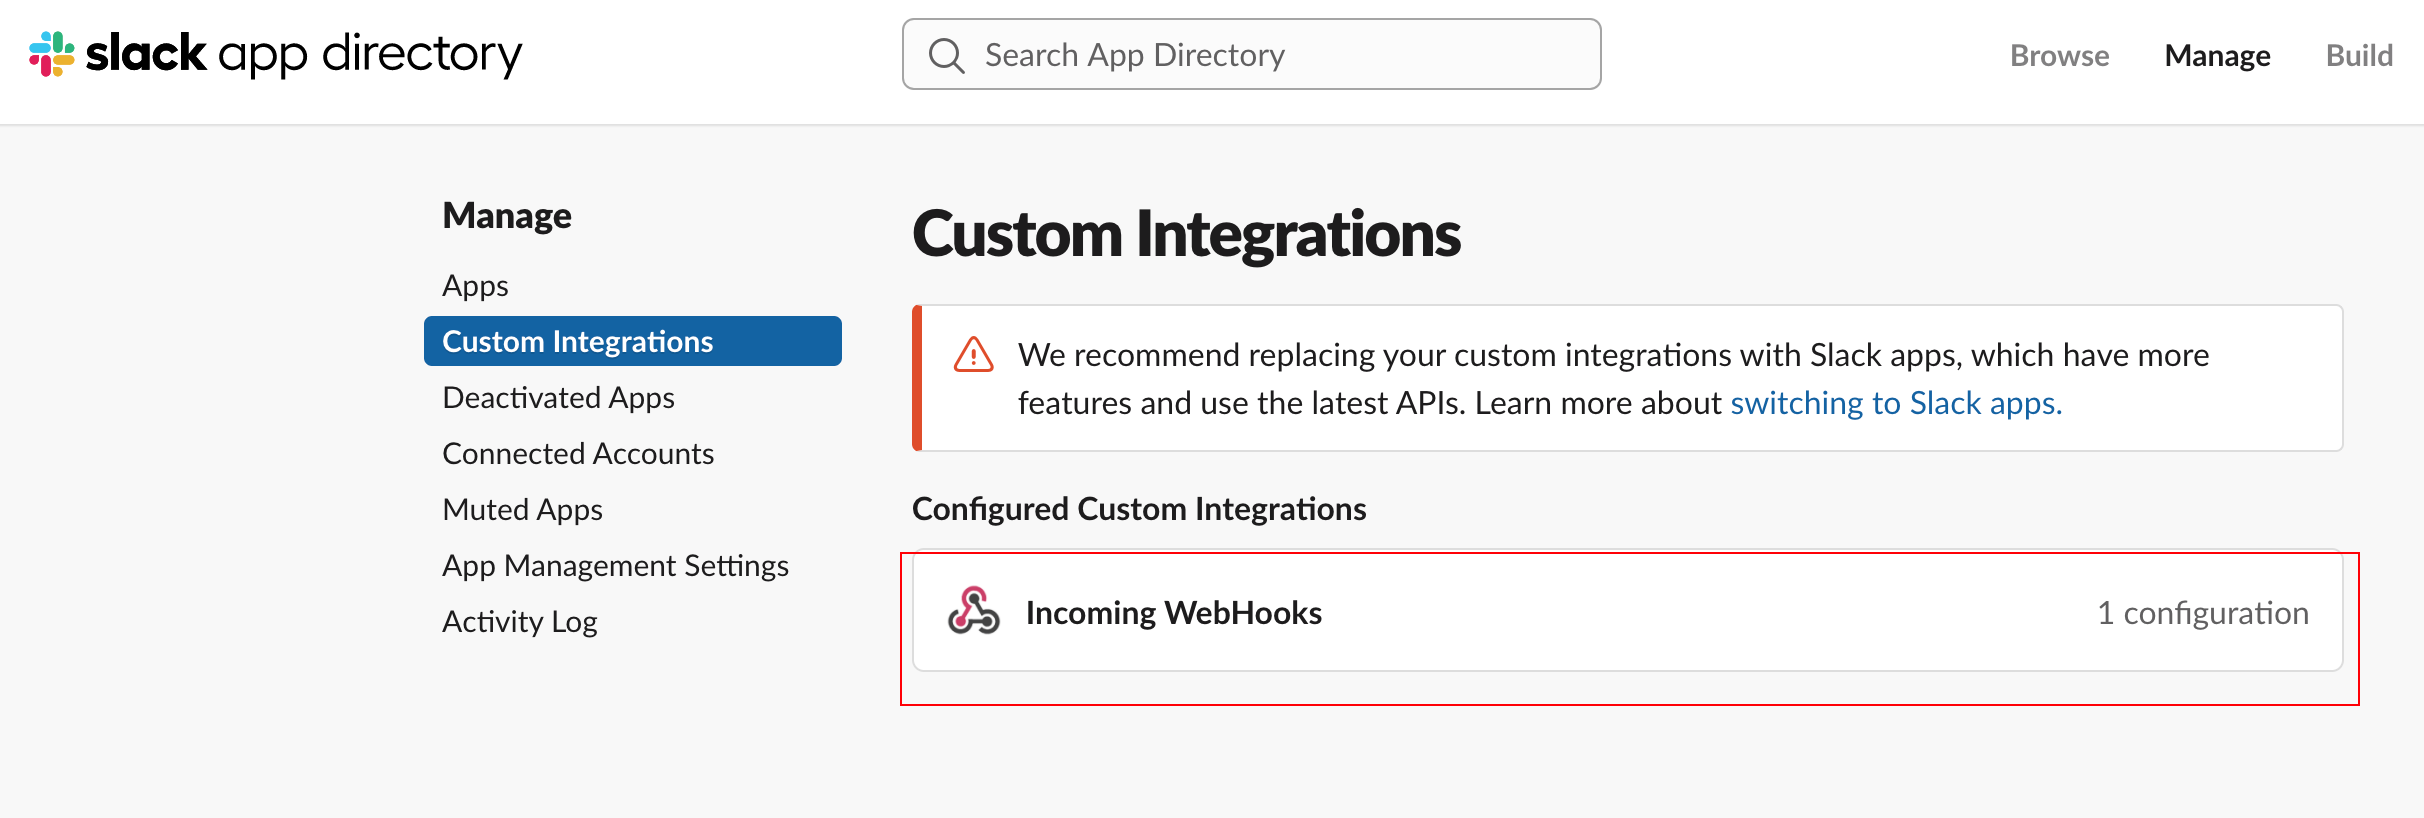
普通个人用户直接注册Slack( https://slack.com/)就行,可以免费使用。注册完成后配置下,访问https://app.slack.com/apps-manage页面,点击Custom Integrations:
接着点击 Incoming WebHooks
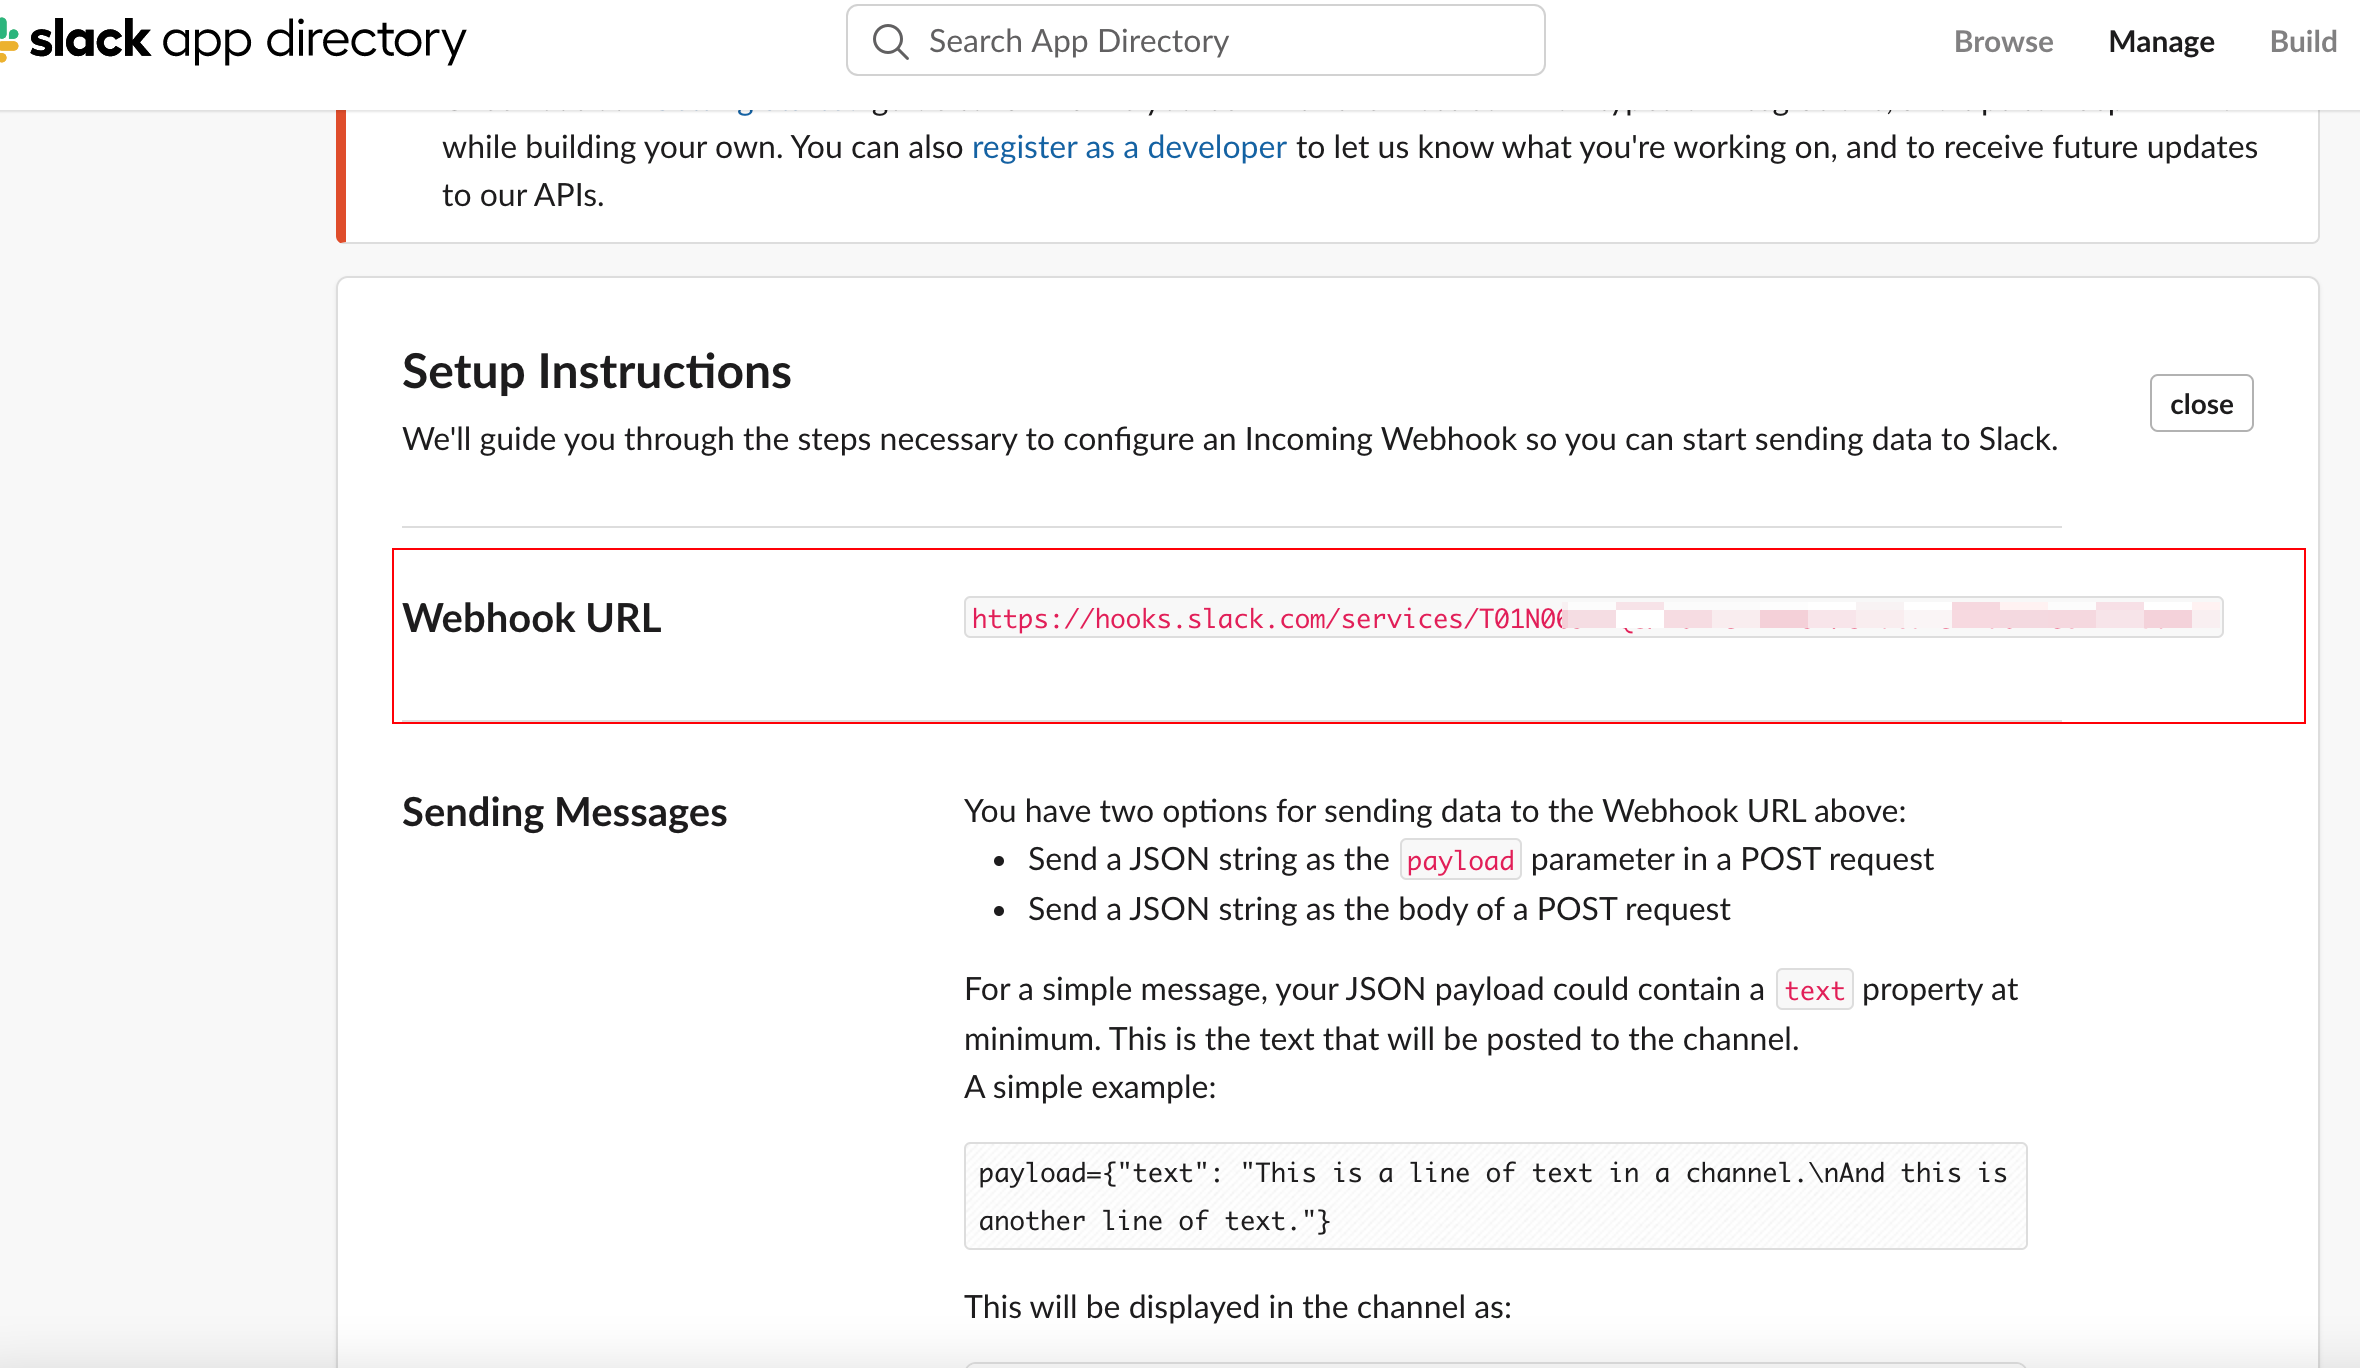
然后就按照页面提示创建一个WebHook即可,最后把生成的Webhook链接保存下来。如下图:
配置Drone
配置Drone非常简单,打开项目根目录下的.drone.yml文件,在合适的位置(建议单独开一个pipeline,与主流程隔离)加上步骤。
以下是按独立pipeline的方式配置的,其他方式可参考Drone官方文档(http://plugins.drone.io/drone-plugins/drone-slack/)
!!! Warning "提示"
注意---分割线不要删除
---
kind: pipeline
type: docker
name: notify

clone:
  disable: true

steps:
  - name: notify-stack
    image: plugins/slack
    settings:
      webhook: your slack webhook url,eg.https://hooks.slack.com/services/xxx/xxx/xxx
      channel: anythings
      icon_url: https://imgs.huluohu.com/blog/droneicon.jpg
      template: >
        {{#success build.status}}
          Deploy Blog of build-{{build.number}} succeeded. Good job. <@huluohu> <@iam>
        {{else}}
          Deploy Blog of build-{{build.number}} failed. Fix me please. <@huluohu> <@iam>
        {{/success}}
    when:
      status:
        - success
        - failure

trigger:
  status:
    - success
    - failure

depends_on: [blog-deploy]
参数说明:
- image: plugins/slack 引入slack插件
- webhook: 就是在Slack中创建的webhook地址
- channel: 在Slack中创建的channel名称
- icon_url:接受到通知是的icon图标
- template: 消息模版,参考官方文档
- when.status: 表示构建结果是成功还是失败,仅支持
success和failure - trigger.status: 表示出发条件,仅支持
success和failure - depends_on:表示这个pipeline依赖的上个pipeline,一般是构建主流程pipeline
开动
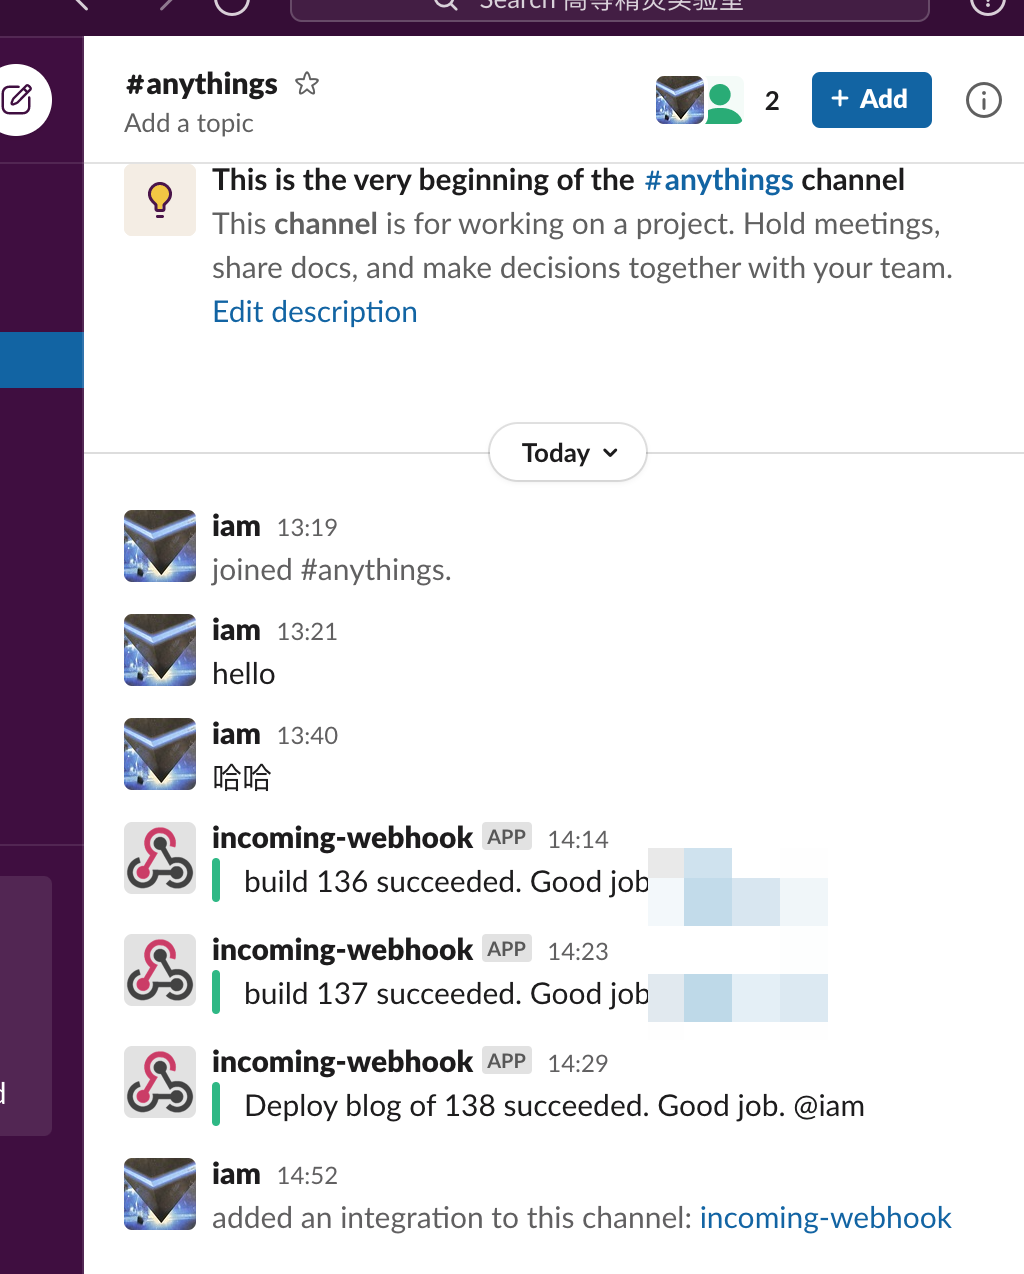
到这里就配置完成了,将代码push到仓库触发构建流程,drone将在主流程完成之后安装上面配置的发送消息,你的slack将收到消息通知。
git add *
git commit -m something
git push
原创文章,作者:诺多,如若转载,请注明出处:https://www.huluohu.com/posts/50/
 微信扫一扫
微信扫一扫  支付宝扫一扫